Showing posts with label friendship. Show all posts

Saturday, September 11, 2010

Young Boy's Handmade Birthday Gift


I don't know about you, but whenever one or more of my children gets invited to a friend's birthday party, I never seem to have a problem thinking up handmade gift-ideas for little girls, no matter the age.  But when it comes to little boys, once they're past the baby/toddler stage, it gets increasingly difficult to think of handmade  gift ideas.  So this week, as we approached today's party for my son's friend's party, a little boy turning 5 years old - a little boy who is ALL STAR-WARS these days, I had NO IDEA what to make.  His mom suggested a Star Wars pillow case...but I had no Star Wars fabric on hand, and really no money to go get any at the moment...so I wanted to come up with an idea using things I had on hand.

I started brainstorming with my OWN 5 year old son what things he really likes to do...and we came up with the fact that he really enjoys playing games.  So as I was laying in bed Thursday night, about to fall asleep, this idea came to me (and remember how I said I'm NOT one of those creative people who has to keep a notebook by my bedside to write down ideas?  Yeah - now I am!).  Anyway, I jotted it down before I drifted into never-never land, so that I wouldn't forget, and on Friday, Anthony and I made it a reality.

It was SUPER EASY.  I took a piece of 12x12 canvas (or duck cloth - whatever they call it in YOUR fabric store), and serged the edges so they won't fray.  Meanwhile, I sent my son out to our back yard (which is unfinished) to find rocks, while I painted tic-tac-toe lines on the canvas, using regular acrylic craft paint.  While that dried, my son and I went through the rocks and picked the ones that were relatively close in size and had at least one flat-enough side so that we'd be able to paint an X or O on it.

We washed the rocks, dried them thoroughly, and let them dry in the sun for a little while.  Meanwhile, I found a cloth, drawstring bag (have no idea what it came from), and used foam stamps with white acrylic paint to stamp, "Boys will be boys" on one side, and the child's name on the other side.  Once the rocks had dried, Anthony helped me paint the X's and O's on them.  He loved that it was something he could actually help with.


After it was all finished, we put the rocks in the bag, rolled up the canvas and added it to the bag, and pulled the drawstring closed.  I made a "card" using a shipping tag and distress inks and added it to the outside of the bag (wish I would've taken a pic of that).  Anthony LOVED how it all turned out - he asked me, "So when do you think I could get a gift like this??"  I said, "Well, maybe for Christmas!"  He thought for a minute, and then said, "Well...which wrapping paper will it be in?"  LOL

Thursday, September 09, 2010

Inspiration Wednesday (er...Thursday...9/9/10)

I really thought it was just me...so I was really relieved to hear Donna say in her video this week that she often  thinks she's going to hate her Inspiration Journal pages in the beginning, but at some point during the process, she starts to love them.  Because that almost always happens to me, it seems.  I started this weeks' technique late last night, and continued early this morning...and stopped when this is what I had:


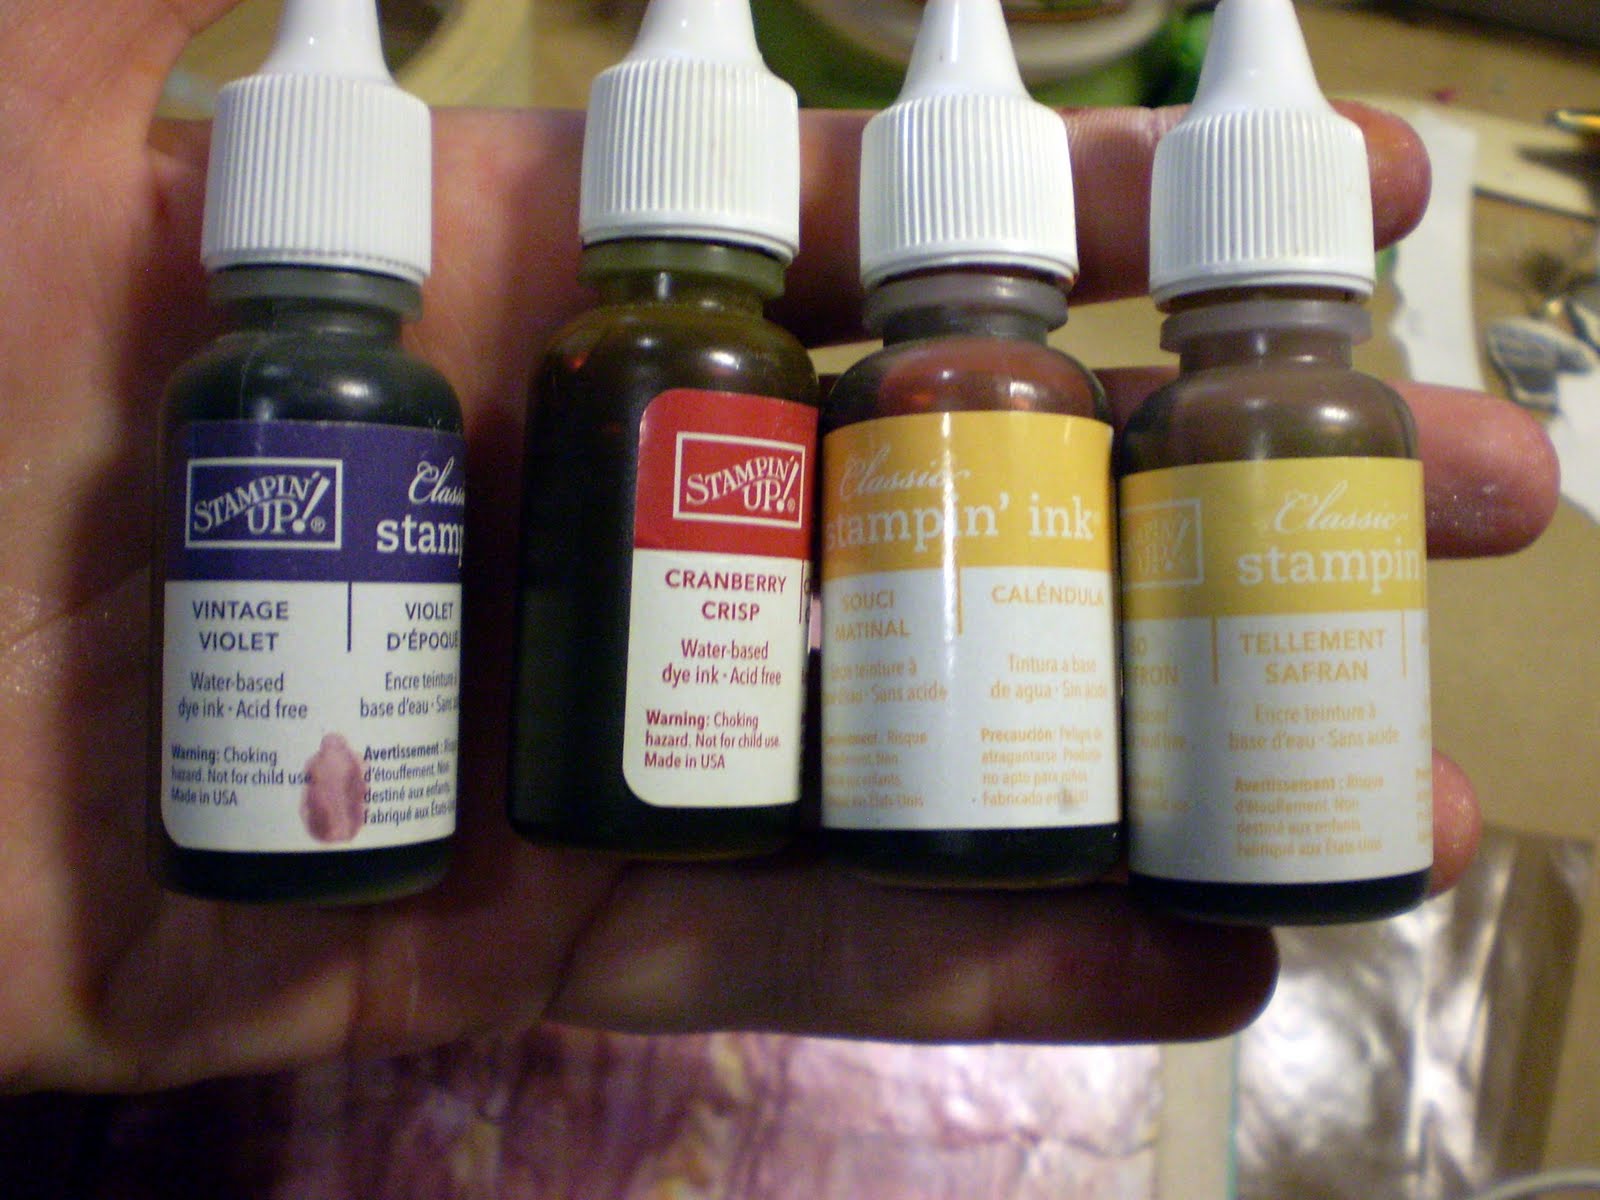
Don't hate...I can tell you are as enthusiastic about it as I was!!  LOL  Isn't it BEAUTIFUL?!  So let me back up just a bit and explain how I got there.  I started by using matte gel medium to basically decoupage the entire two pages with pieces of torn book pages.  The look was actually pretty cool - I should've taken a pic of THAT!  I left that to dry overnight (partly because it was after 1:00 a.m. when I finished, but mostly because my hubby would've been pretty unhappy with me for running my heat gun at that hour).  This morning, I woke early enough before we had to leave for Bible study that I was able to work some more on it.  Now, in Donna's video, she used Tattered Angel's new Glimmer Glaze.  I don't have any, and I don't have any money to buy any.  BUT, I do have this: 


AND...


So...my thought was that I could attempt to create my OWN version of Glimmer Glaze.  See my experimenting?  I was definitely getting shimmer!!


Donna did drippage with hers.  She used a paintbrush...which I tried, but I didn't really get the effect I wanted.  So I decided to try something different...after all, that's what this whole Inspiration Journal experience is about, right?  First I tried sponging it on.  It didn't really give the effect I wanted either.


So then I went to the kitchen and found a frosting bottle.  I put a couple buttons in the bottom to use for mixing "balls," then poured in some of the pearlized paint, some re-inker drops, and some glazing liquid.  And I shook and mixed.  And I tested.  And I added more color.  And finally I had the color and consistency I wanted...and I did drippage.  And I sprayed water.  And I heat gunned.


And after all of THAT, my paper was falling apart...leading me to have to add some packing tape to the middle of the centerfold...and fortunately, the paint mixture adhered over the packing tape.  And all of THAT is what got me to those pictures you see above...and where I left things when I went to Bible study, wondering what on earth I was going to do next!!

But by the time I got home, after spending a wonderful time in the fellowship of true friends and in God's word, I knew exactly what my pages were going to be about.  You see, my Inspiration Journal is not just about art or about me learning new techniques.  It's also about me, as a person, and where I am in my life.  It reflects my soul, my heart, the inner parts of me that sometimes simple words in a written journal just can't do.  And over the past few months, one of the toughest things I've had to deal with and one of the things that has caused me more tears and gripping heartbreak than just about anything else in my recent past is struggling with broken friendships.  I was upset just yesterday about something, and one of my dear friends reminded me, "A true friend loves at ALL times."  (Proverbs 17:17)  Not just when it's convenient.  Not just when it's easy.  And I am SO thankful for the friendships I have with genuine, authentic women, who put forth their true selves, who DO love me all the time, who are real and authentic, who don't wear masks or put on falsehoods.  And that's how this page evolved.  :)


I don't remember where I found the quote, but I have it written in a journal where I jot down quotes that I come across that I love.  The flowers are some discontinued Prima flowers that I received in one of Donna's recent grab bags.  The quotes are cut from a Nicole Nordeman book (can't remember the name at the moment).  The writing and drawing is done in india ink.  The stems are of various ribbons and twines.  

Tuesday, August 03, 2010

Playing with clay

I think I've mentioned before JUST how much I {heart} the magazine Simply Handmade (published by Northridge Media). Enough so that when my original gift subscription from my mom ended last year, I re-subscribed on my own. I just get SO many awesome ideas from there - and I am a person who NEEDS ideas. Lots of them. I thrive on them. I've never been a person who wakes up in the middle of the night and hits my husband and says, "Oh! Honey, we should do THIS!" (Like Donna Downey does. I only wish I was that kind of creative.)

Anyway, in the most recent edition of Simply Handmade, there was this most adorable magnet made from oven-bake clay. I've always seen oven-bake clay and felt it call out to me...but aside from a couple bracelets my friend Deanna and I made several years ago, I had not followed through on the urge to play with clay.

But on my recent mega trip to Michaels (supposedly only to get painting supplies to try all my new Donna Downey tricks), I noticed that the Sculpey clay was on sale 4 for $5, plus I had an additional 20% off my entire purchase coupon...making them just a little over a dollar a pack, so I decided to pick up a few packs (and an acrylic roller, a cheapo pack of plastic tools, and a cheapo pack of mini-cutters) to try my hand at some things.

First on the list? Most definitely a magnet like the one I had seen in Simply Handmade. I have a dear friend who is having surgery next week, and I know she is scared and would SO appreciate a little cheer right now. First I just had to roll out a rectangle of clay. Then I stamped a sentiment with brown Staz-on ink. Next, I used a leaf shape to make three leaves from green clay, and used a tool to make lines in the clay. I then positioned them onto the blue rectangle and sort of pressed them down a bit. Finally, I used two different sizes of tear-drop shaped cutters to cut petals from pearl-white clay and arranged them in layers to make the flower, using a tool to push them down in the middle. For the flower middle, I cut a small circle of the white and pressed it down over all the centers. I followed the baking instructions for the clay (275 degrees for 30 minutes per 1/4 inch thickness), then allowed it to cool.

After the clay had cooled, I used a thin brown marker to highlight the lines in the leaves. I used wire cutters to cut the back off a turquoise blue brad, then hot glued the top to the center of the flower. I used clay-glaze and a paint brush to apply glaze to the entire magnet. Once the glaze was dry, I hot glued two magnets to the back of it...and it was finished!

I am SO in love with how the magnet turned out - and it wasn't NEARLY as hard as I thought it would be!! (Read: will definitely be making more!)

But then it needed some cute packaging. I mean, it's a small magnet - about 2.25 inches wide by 2 inches tall, so it's not like I wanted to just wrap it in tissue and drop it in some huge gift bag. I had a few empty Prima flower tins from my recent emptying of all my tins and jars and bottles of flowers into one big plastic shoe box (um...yeah...I have a paper flower addiction)...anyway, the magazine ALSO showed a cute way of decorating a tin for just such an occasion.

I reminded Darrell - "Remember, honey, how when I first asked you to get me a sewing machine, it was for the purposes of sewing on paper?" He remembered. That was, um, about 5 or 6 years ago. I finally started sewing, what, like 2 years ago? Today was the first time I've actually sewn on paper! I sewed together several rectangles of paper and ran them through my Xyron to stick them to the tin (and then later had to use my craft knife to cut a strip off the top because my lid would no longer fit on the tin). I used some coordinating die cuts, flowers, and another brad to adorn the top of the tin, inking edges, of course! (What would I do without ink?!)

I even put our shredder to use to make some shredded paper packaging for inside the tin! Whoever knew that a shredder could be used for crafting?!

I'm fairly certain my friend to whom this is going doesn't read my blog...so I should be safe posting this. :) If she DOES see it before I get it to her...well, she'll just get to enjoy it twice!

LinkWithin

Related Posts Plugin for WordPress, Blogger...