Showing posts with label acrylics. Show all posts

Friday, November 11, 2011

The Crafter's Workshop: "Ava" Stencil

Today over on Craft Test Dummies, I have posted my second review (here's my first) of the stencils made by The Crafter's Workshop.  You've seen me write about them here before, and I've shown you projects I've used them on...so you already know that I love them.  Today I wanted to show you one of the face stencils - Ava is her name - and just how versatile she is.  I showed you an art journal page in my last post, where I used her in her most basic form...I simply traced her lines with a Pitt Artist Pen, then went over the lines a bit with some oil pastels.  I didn't color in her face, no paint, nothing...very simple.  But today, I'm showing you my very first attempt at something completely different (no judging allowed...I just told you, this is my FIRST ever attempt...!).  

I started out in a 9x12 art journal by scribbling all over the paper with Derwent Inktense watercolor pencils, and then adding water with a brush.  I love these pencils because once the color is dissolved and dry, it is permanent and is no longer water-soluble...so you don't have to worry about it moving around on you as you work in layers over it.


Then I placed the 6"x6" Ava stencil on my page.  I decided I was only going to use the face and neck portion of the stencil, so I traced those parts with a pencil onto my page, along with just a bit of the hair as a guide for reference.  You can just barely see my pencil lines in the photo below - I wanted to keep them light so they wouldn't show through the paint.


Then came the challenging part...for me, at least.  I've *never* painted a face before.  Not ever.  Nor have I ever drawn a face.  I am clueless when it comes to shading and shadows and all of that...you know, the technical aspects of art!  (I really do want to take some actual art classes someday and learn these things!)  So I just went for it and started adding paint.  And my first attempt was a hot mess...but fortunately, it's just paint...so I added some more paint, and painted right over her, until I found a happy medium.  I knew ahead of time that I wanted to put long, flowing hair on her (though I hadn't really planned on it being *quite* so poofy...but hey...what can I say...she wanted to have poofy hair!).  So this is how she looked after I painted over the traced lines.


And then the magic happens.  I placed the stencil BACK on her, and used a cosmetic sponge with some Claudine Helmuth Black Gesso (LOVE that stuff!), and I stenciled in her eyes, nose, lips, chin, and neck lines again.  It's AMAZING what an instant transformation just that little bit gives.  That gave me a guide.  Then I used my paint brush and continued from there, adding her eyebrows completing her mouth, and filling in all the hair lines.  (I also went back in with some white to add a few highlights on her face and neck...it seemed to help.)


Now the page is all ready for me to add some other elements and do some journaling.  While I know she's no masterpiece, having never painted a face before, I am pretty happy with how she turned out...and I owe it all to my friends at The Crafter's Workshop!  

For more details on this and other great ideas for using the face stencils, be sure to check out this great post on stencil designer Julie Fei-Fan Balzer's blog!!  And make sure you hop over to Craft Test Dummies to check out all the other things I did with these great stencils for my review!

Are you a fan of The Crafter's Workshop stencils?  I'd love to see links to projects you've made using them!

Supplies Used:


BLICK ART MATERIALS: Save up to 82% on Select Items through November 16th!

Tuesday, October 25, 2011

Catching Up With Fall

Grab a cup of coffee - this may be a long one!  We've been quite busy around here, soaking up as much "fall" as possible...even if it hasn't really felt much like fall outside (at least not until TODAY - yay for cloudy, cool weather).  We've taken trips to two different pumpkin patches, taken time to paint some pumpkins, decorated the house, collected quite an assortment of twigs and pine cones and nuts for a nature tray...and had more than our fair share of pumpkin pancakes!  Man I love this time of year!

So this is my painted pumpkin.  I have to tell you...I used to HATE my "doodling" type drawing and painting...but I recently took Stephanie Ackerman's online Random Creative Scrapple Doodle class, and I just love her!  Highly recommend her classes!  (And her blog - she's so encouraging and uplifting!)


The girls had fun painting their pumpkins too.  Like their easy-clean-up outfits?  LOL


Jeremiah really enjoyed the second pumpkin patch we went to (yeah, the pics are all out of order...sigh...I'm too lazy to fix them!).  The ground was all covered in straw, and I let him have free reign.  He had to taste it, of course!  


And if the straw tasted good, surely the pumpkin would too, right?


I am amazed when I look at pictures of the kids - they always look so much older than when I look at them every day.  They're growing up so fast.


We had actually met a couple other moms from our homeschooling group at this pumpkin patch and had lunch together.  The kids had a great time playing together (and running from the swarms of bees!).  No one got stung, thankfully.  And they all had a great time on the tire swing.


The other pumpkin patch we went to was much larger - and though I hate that they end up making you spend a bunch of money on rides and jumpers and such for the kiddos, I do love the eye candy they have in their vast array of pumpkins, gourds, indian corn, etc.  Tables and tables and tables of gorgeous fall colors!! And what a difference a year makes - last year, all three kids fit in this wagon!


The kids were enthralled with the animals - from afar.  They had no desire to go into the petting zoo.  Ha ha.


Climbing on the hay castle is always fun - and free.


We splurged on a pulled quad ride.  The kids thoroughly enjoyed it.  It was a bit bumpy for my suiting.  LOL


Ahh...these tables just make my heart go pitter patter!!


Even the girls were enthralled with the freshly picked and washed gourds that were being brought in from the field.  


And we all took our first trip into and out of a corn maze.  There were 4 hidden boxes in the maze which we had to locate and do crayon rubbings on to form a completed picture...we thought we were NEVER going to find them all!  (And it didn't help that there weren't crayons at some of the stations, so we had to use pieces of corn stalks and rocks to do parts of the rubbings!)  Glad to have experienced it once...but I left feeling all scratchy on my arms, with flashbacks of detassling corn in high school during the summer, and don't think I'll ever need to repeat the corn maze experience!  


So there you have it.  Our fall activities thus far.  What about you?  We'll continue this weekend with a trip to DisneyLand on Friday, to celebrate Jeremiah's first birthday (which is actually on Monday)...and then attend our church's Hallelujah Night on Halloween.  I've got a couple of cute Halloween projects to show you on Halloween, too, so stay tuned!

Wednesday, September 22, 2010

Inspiration Wednesday 09/22/2010


Oh my - I'm actually posting my Inspiration Wednesday post ON Wednesday!  And well before midnight!  LOL!!  That would be because A.) I started my page before Donna posted hers, and thus, B.) did not wait until so late in the day to start; and C.) did a more simple page this week.  That said, it was a VERY difficult page to photograph (although it does seem like MOST of my stuff is hard to photograph well with my camera)...indoors, the flash shone off the Glimmer Mist and acrylic paint of the leaves so brightly, yet outdoors in the natural light, I couldn't get the Glimmer Mist to sparkle hardly at all.  So I did my best to share some of both...so hopefully you can get a feel for just how shimmery and warm this page really is!

I was glad I didn't wait for Donna to post hers this week, since I don't actually own any Pan Pastels (or any pastels, for that matter)...so I wouldn't have been able to do that part of the technique anyway.  I just did a simple coat of Ochre Yellow fluid acrylic paint (Golden brand) for the background.  I literally just put a couple drops of it right on the page, sprayed some water on the page, and used a wide brush to spread the paint over the entire page, letting it lighten toward the left part of the page.  Then I took 3 leaves I had previously cut from book text, using my Cricut (the Wild Card cartridge), and glued them down on the page.  I painted over them using Nickel Azo Gold fluid acrylic paint, building in layers, so that it is darker on the outer part of the leaves.  I love that you can see the brush strokes and the layers in some of the pictures - and that you can still see the book text through the paint - the leaves almost seem to have a 3-dimensional look to them.  


Then, I used a mask that I had cut on my Cricut (also Wild Card cartridge), using the Tim Holtz cut-your-own-mask sheets - that's the tree branch you see near the top of the page.  It's self-adhesive, so I stuck it to the page, and used my Tim Holtz distress inks in Orange Marmalade, Barn Door, and Vintage Photo over the  mask and around the edges of the entire page, before removing the mask.  I also went around the edges of the page with a little Walnut Ink distress ink.  I stamped the clock face using an acrylic stamp I made using the  cut-your-own-stamps acrylic stamp sheets for the Cricut (using the Graphically Speaking cartridge), in brown Staz-on.  I then used the same cartridge to cut clock hands from cardstock and glued them on top of the stamped image, and covered them in Glossy Accents, and glued the Tim Holtz metal "cherish" charm in the middle.  I stamped "gratitude" at the bottom of the page, and glued down two pieces of ruler ribbon on the page.  I spritzed the page with Tiger Lily Glimmer Mist - a gorgeous shade of orange with beautiful golden shimmer to it.  Finally, I added my quote and doodled a few lines around the edges using black india ink.


I love how this last photo shows the texture of the leaves!!  They were so simple to do, but I just love them!!  They make me happy!

Thursday, September 16, 2010

Inspiration Wednesday 9/15/2010


As usual, I'm posting my Inspiration Wednesday work on Thursday - because by the time Donna gets HER video up, and I take care of all my homeschooling duties, children who need feeding, household stuff, etc...I just can't manage to get it all done (or posted) by the end of Wednesday!!  LOL  I suppose if I just did my own thing and started first thing on Wednesday mornings, I could...but what fun would THAT be?  I wanna try whatever technique Donna is demonstrating...so I wait for her to post her video and then I get to play along!!

So this week, we painted the background with fluid acrylics using a palette knife!  Totally a cool look!  I love the lines and texture it gives the background.  I didn't have the color of green I wanted, so I had to mix up some Hansa Yellow Medium, Phthalo Green (blue shade), and Yellow Ochre (all Golden fluid acrylics) to get just the right shade I was aiming for.  My pictures don't quite show it right - it's a little bit more olive-colored in real life.  My inspiration for the color was actually the shade of green in the patterned paper I used to make the flower at the bottom of the page (more on that in a bit).


I love this quote - it came from a women's devotional book I have.  I have been working with my 5-year old a LOT lately on focusing more on others' needs than on his own, and on paying more attention to giving than to getting - so this thought has been on my mind lately.


This twisted paper swirly thing - not exactly sure WHAT to call it - was something that Donna Salazar taught during her Tuesday Tutorial a couple nights ago (you should definitely check those out - free online video classes - live - every other Tuesday - there's a link on my left sidebar).  I tore three pieces of book text into about 2.5 inch-wide strips, coated them in Liquitex Gloss Medium & Varnish (she used a Beacon Fast Finish Decoupage, I believe), then gently twisted them one at a time.  I formed a peak at the top, and a sort of flattened part at the other end.  After forming all three and having curved them the way I wanted, I gently twisted all three together and smooshed the flattened bottom ends together, then laid them on my non-stick craft mat to dry.  Once they were dry (I used my heat gun to sort of speed up this process), I spritzed the now-one-piece swirly with some Tiger Lily Glimmer Mist and some homemade magenta colored shimmer mist.  It's hard to catch just how shimmery it really is, in photos - but let me tell you, it really shimmers!  I adhered it to the page using Beacon 3-in-1 Craft Glue (love that stuff!).


The bird, I cut out of the same patterned paper that I used to make this beautiful rose.  I outlined the bird using my dip pen and black india ink, just as I used for writing my quote.  Notice the eye of the bird - I added a drop of Glossy Accents to give it a dimensional look.  I also added several drops of the Glossy Accents to the flower petals to make it look like drops of dew or rain on the flower.  The Accents go on a little cloudy-looking, but dry crystal clear and very glossy, giving a very cool look.  Glossy Accents can also be used as an adhesive and will even adhere paper to metal.

Now - the flower!  This is my newest fun technique!!!  And SO easy it's ridiculous!  I still can't believe I never knew until now how to make these!  Can I just say how much I adore You-Tube?  You can really learn just about anything there - I've learned how to sew, how to knit, and many many other skills by watching videos people have posted on You-Tube.  Anyway, apparently this technique was originally a flower that Tim Holtz made using a Sizzix flower die; however, a very creative woman figured out a way to make them even faster using her Cricut and the George & Basic Shapes cartridge - which is the cartridge that comes with the orginal Cricut...the one I just happen to have.  However, I would imagine you could find a flower shape on MANY of the Cricut cartridges that would work with this technique.  THREE cut flowers is ALL it takes, a few snips of your scissors, some curling of the petals around a pencil or paintbrush, and a hot glue gun - and you've got yourself a GORGEOUS, 3-dimensional rose!  

So...that's this week Inspiration Journal entry.  I hope you enjoyed it...and I hope you do something to express your own creativity this week!  I promise you that the more you take the time to practice being creative, the more you will find your creative impulses exploding in your mind!!

Thursday, September 09, 2010

Inspiration Wednesday (er...Thursday...9/9/10)

I really thought it was just me...so I was really relieved to hear Donna say in her video this week that she often  thinks she's going to hate her Inspiration Journal pages in the beginning, but at some point during the process, she starts to love them.  Because that almost always happens to me, it seems.  I started this weeks' technique late last night, and continued early this morning...and stopped when this is what I had:


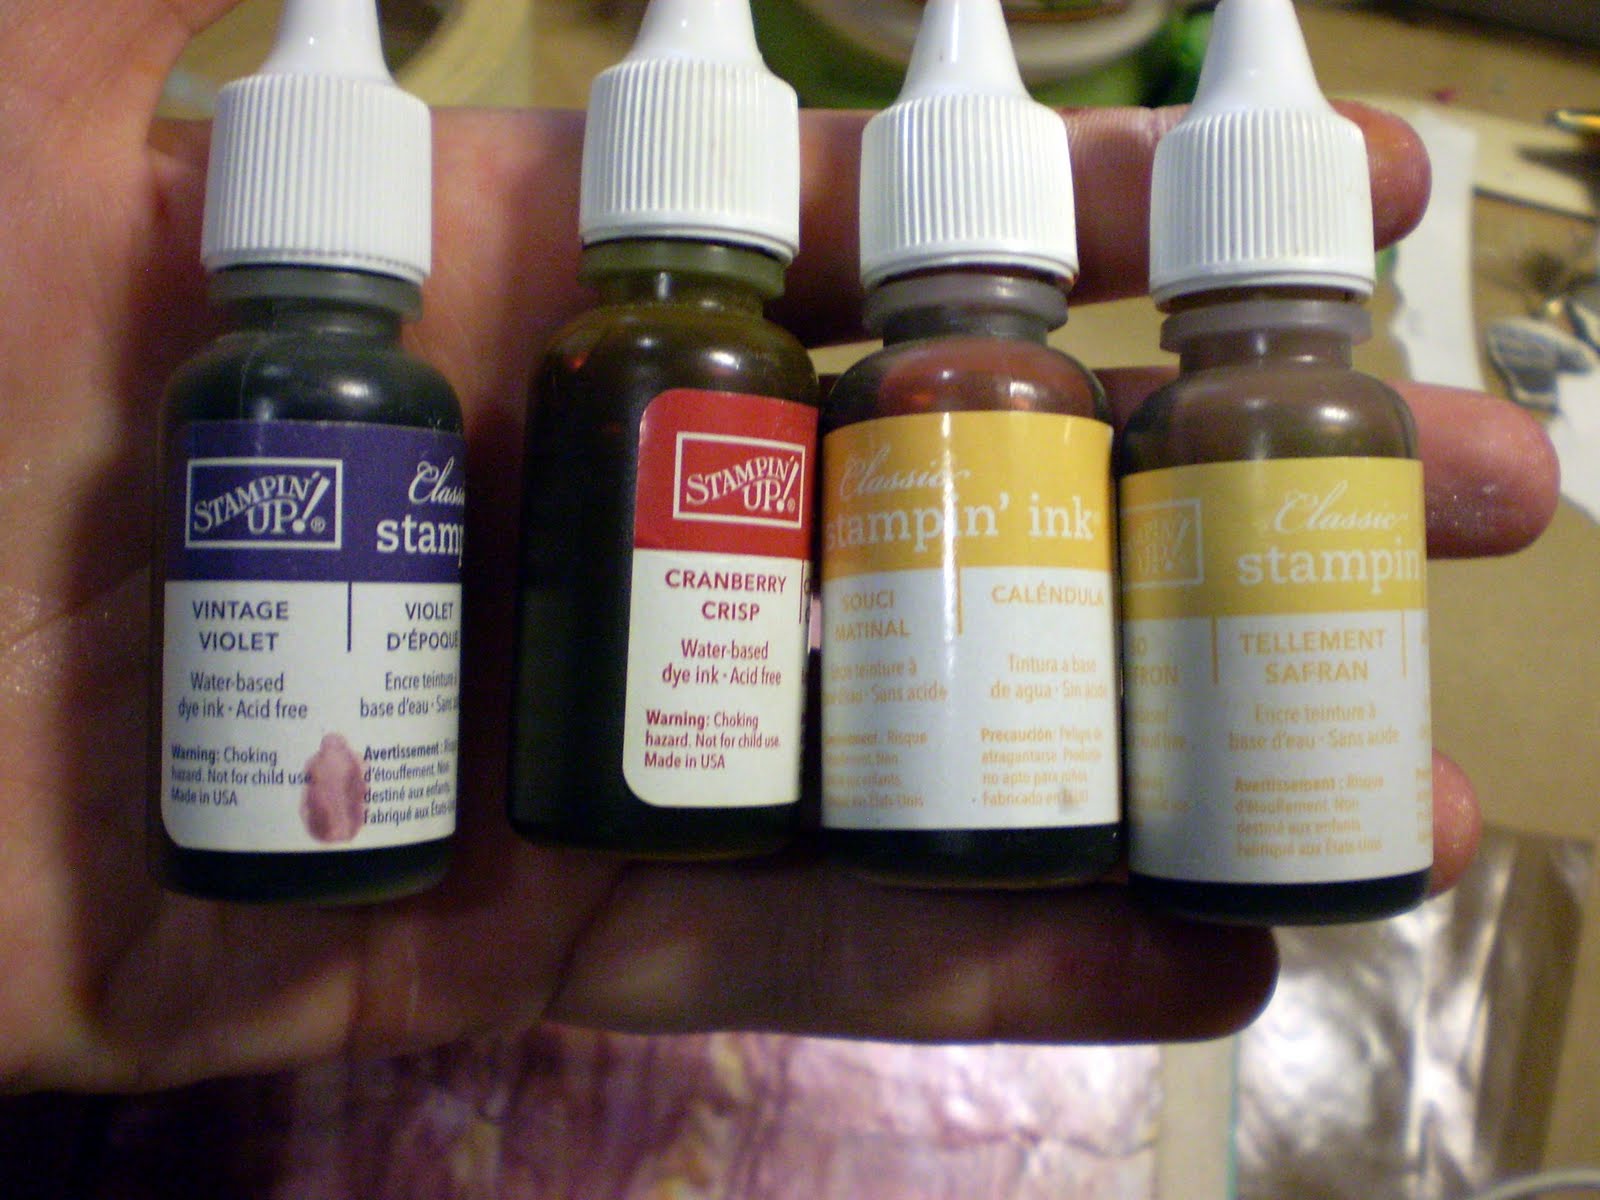
Don't hate...I can tell you are as enthusiastic about it as I was!!  LOL  Isn't it BEAUTIFUL?!  So let me back up just a bit and explain how I got there.  I started by using matte gel medium to basically decoupage the entire two pages with pieces of torn book pages.  The look was actually pretty cool - I should've taken a pic of THAT!  I left that to dry overnight (partly because it was after 1:00 a.m. when I finished, but mostly because my hubby would've been pretty unhappy with me for running my heat gun at that hour).  This morning, I woke early enough before we had to leave for Bible study that I was able to work some more on it.  Now, in Donna's video, she used Tattered Angel's new Glimmer Glaze.  I don't have any, and I don't have any money to buy any.  BUT, I do have this: 


AND...


So...my thought was that I could attempt to create my OWN version of Glimmer Glaze.  See my experimenting?  I was definitely getting shimmer!!


Donna did drippage with hers.  She used a paintbrush...which I tried, but I didn't really get the effect I wanted.  So I decided to try something different...after all, that's what this whole Inspiration Journal experience is about, right?  First I tried sponging it on.  It didn't really give the effect I wanted either.


So then I went to the kitchen and found a frosting bottle.  I put a couple buttons in the bottom to use for mixing "balls," then poured in some of the pearlized paint, some re-inker drops, and some glazing liquid.  And I shook and mixed.  And I tested.  And I added more color.  And finally I had the color and consistency I wanted...and I did drippage.  And I sprayed water.  And I heat gunned.


And after all of THAT, my paper was falling apart...leading me to have to add some packing tape to the middle of the centerfold...and fortunately, the paint mixture adhered over the packing tape.  And all of THAT is what got me to those pictures you see above...and where I left things when I went to Bible study, wondering what on earth I was going to do next!!

But by the time I got home, after spending a wonderful time in the fellowship of true friends and in God's word, I knew exactly what my pages were going to be about.  You see, my Inspiration Journal is not just about art or about me learning new techniques.  It's also about me, as a person, and where I am in my life.  It reflects my soul, my heart, the inner parts of me that sometimes simple words in a written journal just can't do.  And over the past few months, one of the toughest things I've had to deal with and one of the things that has caused me more tears and gripping heartbreak than just about anything else in my recent past is struggling with broken friendships.  I was upset just yesterday about something, and one of my dear friends reminded me, "A true friend loves at ALL times."  (Proverbs 17:17)  Not just when it's convenient.  Not just when it's easy.  And I am SO thankful for the friendships I have with genuine, authentic women, who put forth their true selves, who DO love me all the time, who are real and authentic, who don't wear masks or put on falsehoods.  And that's how this page evolved.  :)


I don't remember where I found the quote, but I have it written in a journal where I jot down quotes that I come across that I love.  The flowers are some discontinued Prima flowers that I received in one of Donna's recent grab bags.  The quotes are cut from a Nicole Nordeman book (can't remember the name at the moment).  The writing and drawing is done in india ink.  The stems are of various ribbons and twines.  

LinkWithin

Related Posts Plugin for WordPress, Blogger...